메타마스크 설치
In the previous step we showed you how to get the ALGO testnet to start interacting with Milkomeda A1 Rollup Testnet. From now on, documentation will be focused on mainnet settings. Nevertheless, we recommend that you first interact with Milkomeda A1 Rollup using testnet funds. For this purpose change the corresponding RPC settings to Testnet. Please keep in mind, that all the steps described for mainnet settings are the same as the ones for testnet.
:::
Now that we have an Algorand wallet and some ALGOs, we need an address on the Milkomeda Algorand A1 Rollup where we can receive our MilkALGO. We recommend using MetaMask for this step.
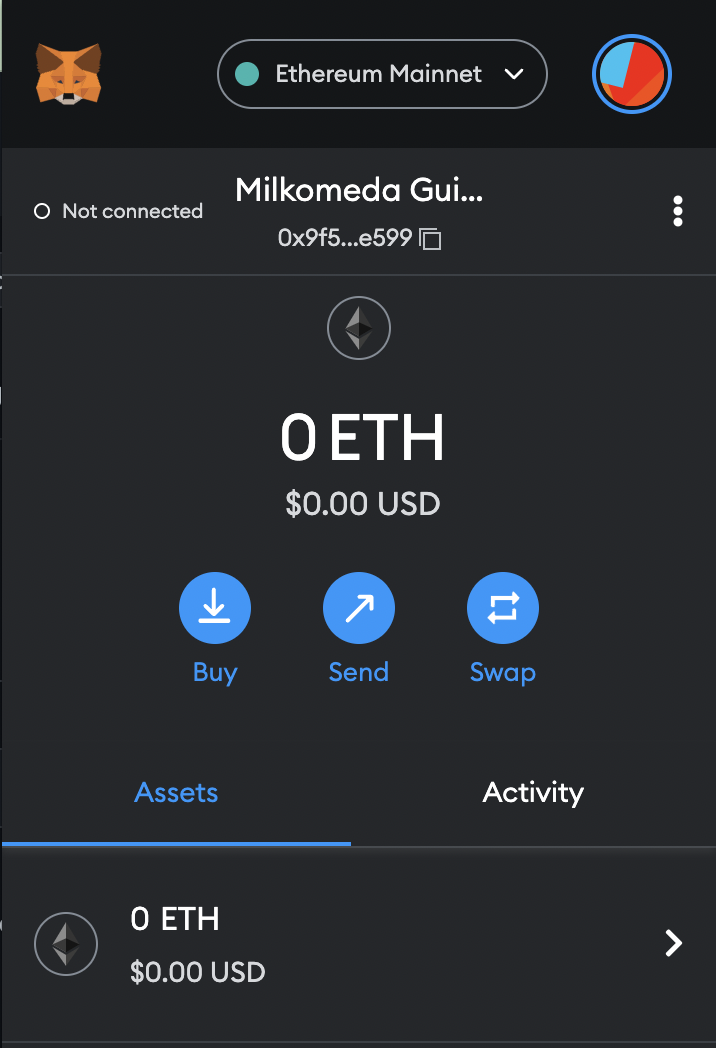
First, install MetaMask for Chrome, then click the Chrome Extensions icon  and select MetaMask. MetaMask 창에서 Get Started(시작)를 클릭한 후 Create a Wallet(월렛 만들기)를 선택합니다. 월렛 비밀번호를 설정합니다. 이 후에 설정 화면이 표시되므로 클릭하여 계속 진행합니다. When you're finished, you will have a new, empty wallet, as shown below. Select the network dropdown in the top right corner of the MetaMask screen.
드롭다운 목록에서 Add Network(네트워크 추가)를 선택하고 다음 내용을 입력합니다.
Network Name: Milkomeda Algorand mainnet
New RPC URL: https://rpc-mainnet-algorand-rollup.a1.milkomeda.com
Chain ID: 2002
Currency Symbol (Optional): milkAlgo
Block Explorer URL (Optional): https://explorer-mainnet-algorand-rollup.a1.milkomeda.com
To interact with Milkomeda A1 Testnet, use following network details:
Network Name: Milkomeda Algorand Testnet
New RPC URL: https://rpc-devnet-algorand-rollup.a1.milkomeda.com
Chain ID: 200202
Currency Symbol (Optional): milkTALGO
Block Explorer URL (Optional): https://testnet-algorand-rollup.a1.milkomeda.com
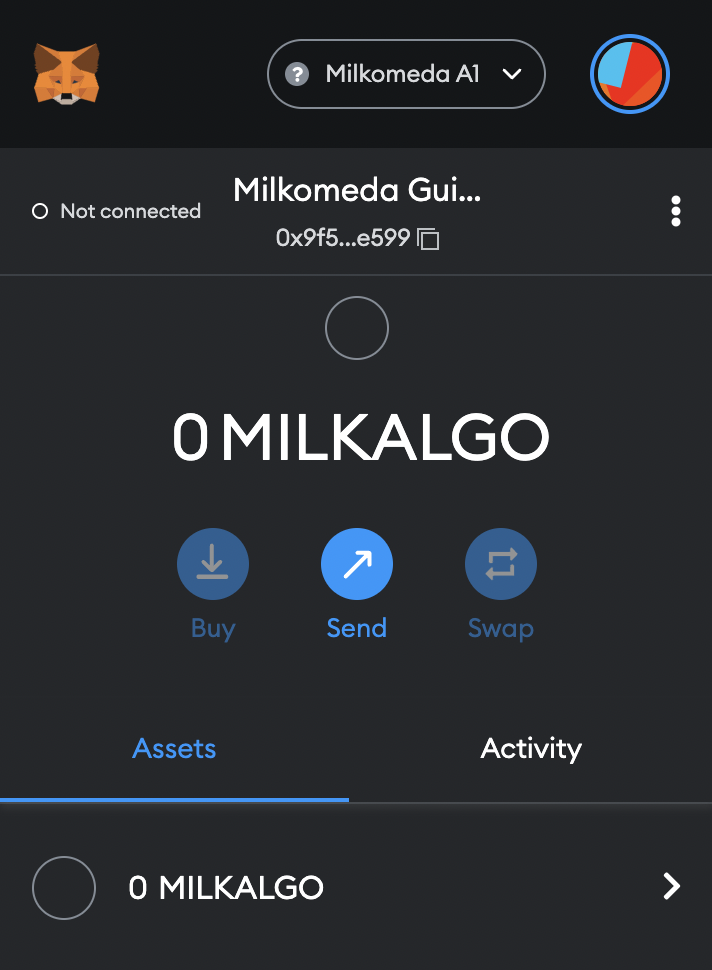
Click “Save”, and you will now see Milkomeda Algorand in the network dropdown list. Copy your Milkomeda Algorand wallet address from MetaMask to the clipboard by clicking on the account name, as shown.
Next we will go to the Milkomeda A1 Bridge dApp and send our ALGO to the Bridge to be wrapped.